Last updated: 3 October 2024
As a Binance VIP, you can use the Custom Login function to add new login credentials to your master account. These Custom Login accounts will have limited permission to access the trade and order history of the master account and the related sub-accounts, and the asset balance and deposit addresses of the master account.
Custom login is only available for institutional users and whitelisted users. Please contact your Account Manager to understand how multi-validator and other security features can protect your account.
To see how to enable multi-validator verification, click to view the next tab on this page.
For more information about sub-accounts, please refer to How to Manage Sub-Account Functions and Frequently Asked Questions.
Please note that there are three Custom Login account roles: Read-only, Finance Manager and Approval role. The read-only role cannot deposit, withdraw, transfer, trade, or view the Identity Verification or any other sensitive information of the master account. The Finance Manager role cannot view wallet balances, deposit addresses, or order history of the master account, but can transfer assets between master and sub-accounts. The Approval role can only approve operations via Multi-validator Verification.
| Role | Read-only | Finance Manager | Approval Role |
| View master account wallet balance | ✓ | X | X |
| View master account deposit address | ✓ | X | X |
| View sub-account and master account order history | ✓ | X | X |
| Transfer assets between master and sub-accounts | X | ✓ | X |
| Request for customer service from Binance Support | ✓ | X | X |
| Multi-validator verification | X | X | ✓ |
1. Log in to your Binance account. From the profile icon, click [Account].

2. Select [Custom Login], then click [+ Other Roles Account]. Please note that you can only create up to 20 Custom Login accounts. To remove a Custom Login account, click [Delete] next to it.
Please note that the Custom Login function is only available to master accounts that have enabled the sub-account function.

3. Create login credentials for the Custom Login account. Please note that the newly created account needs to complete email verification, so please enter the email address carefully. Click [Create Account].

4. Enter the email verification code received in the Custom Login account email. Then, complete 2FA verification with the master account and click [Confirm].

1. You can directly log in to your Custom Login accounts, no registration is required.
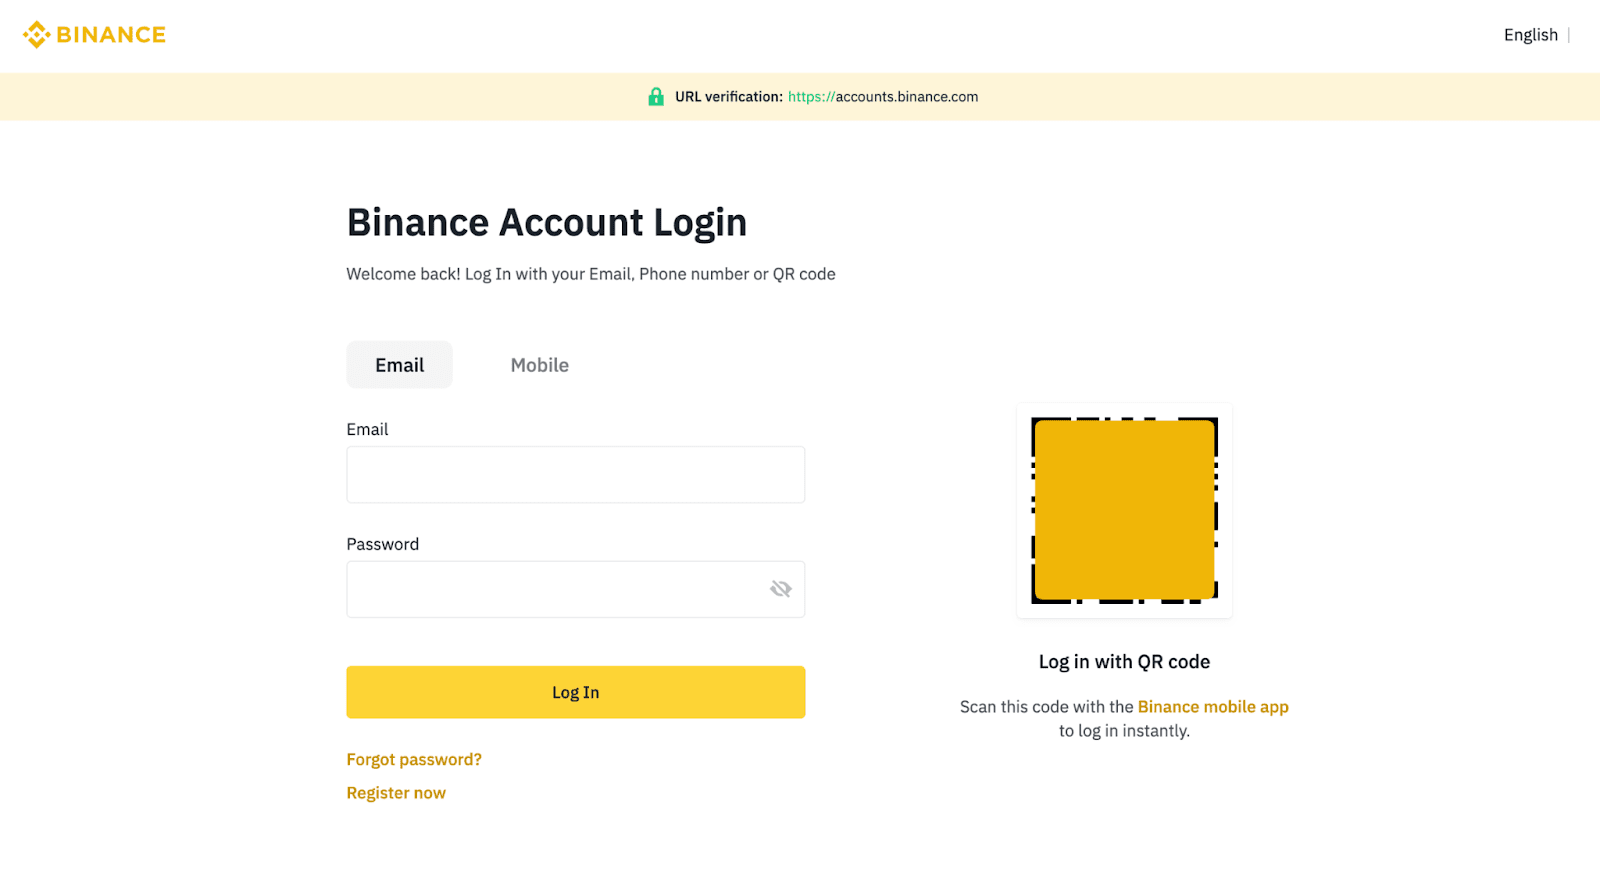
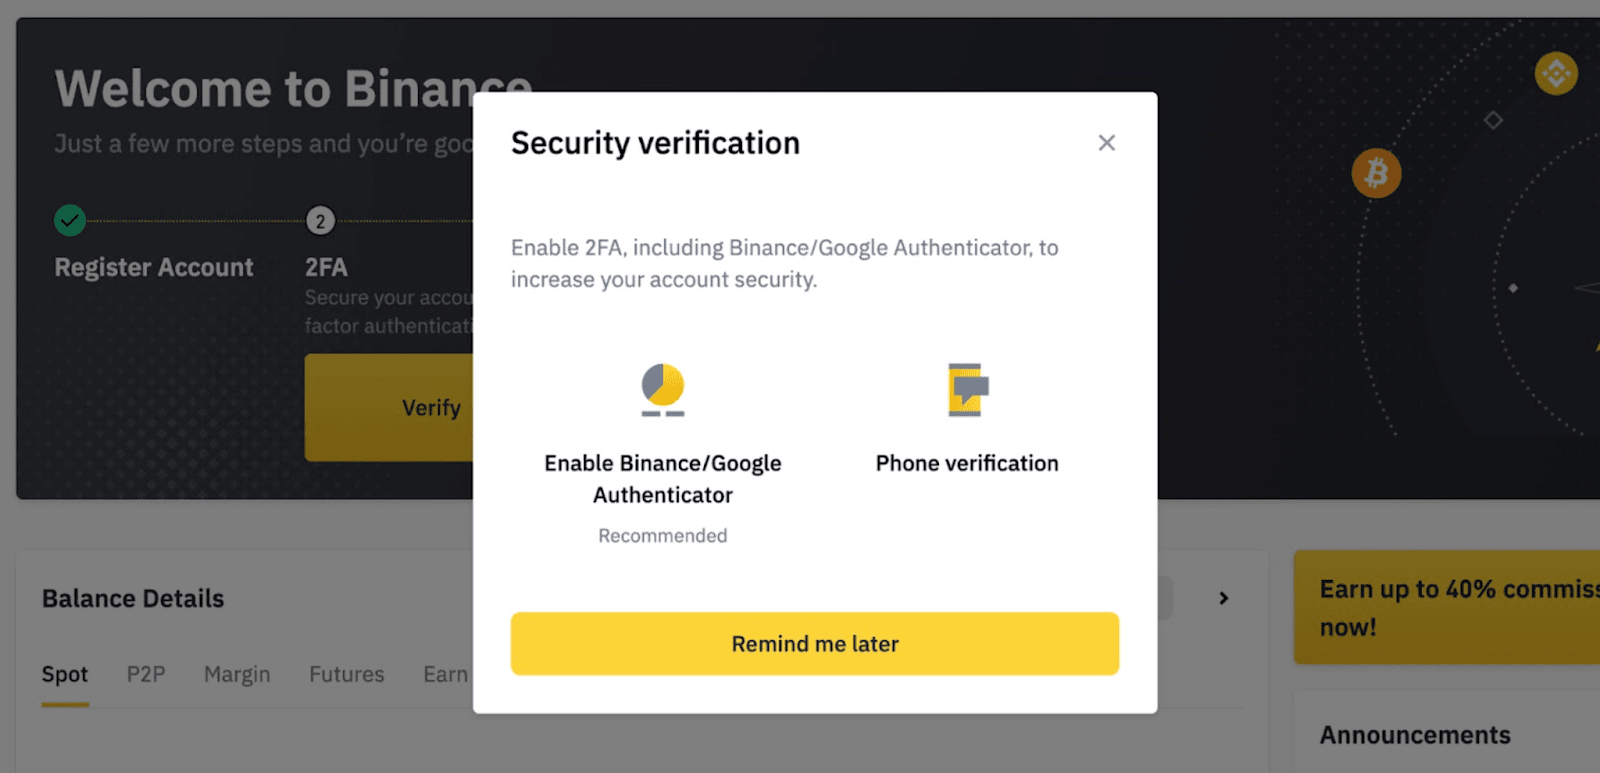
2. Click [Profile] - [Dashboard] to proceed to the User Center. For first-time login, you will be prompted to enable 2FA. Please refer to How to Enable Google Authentication (2FA) and Frequently Asked Questions for more details.
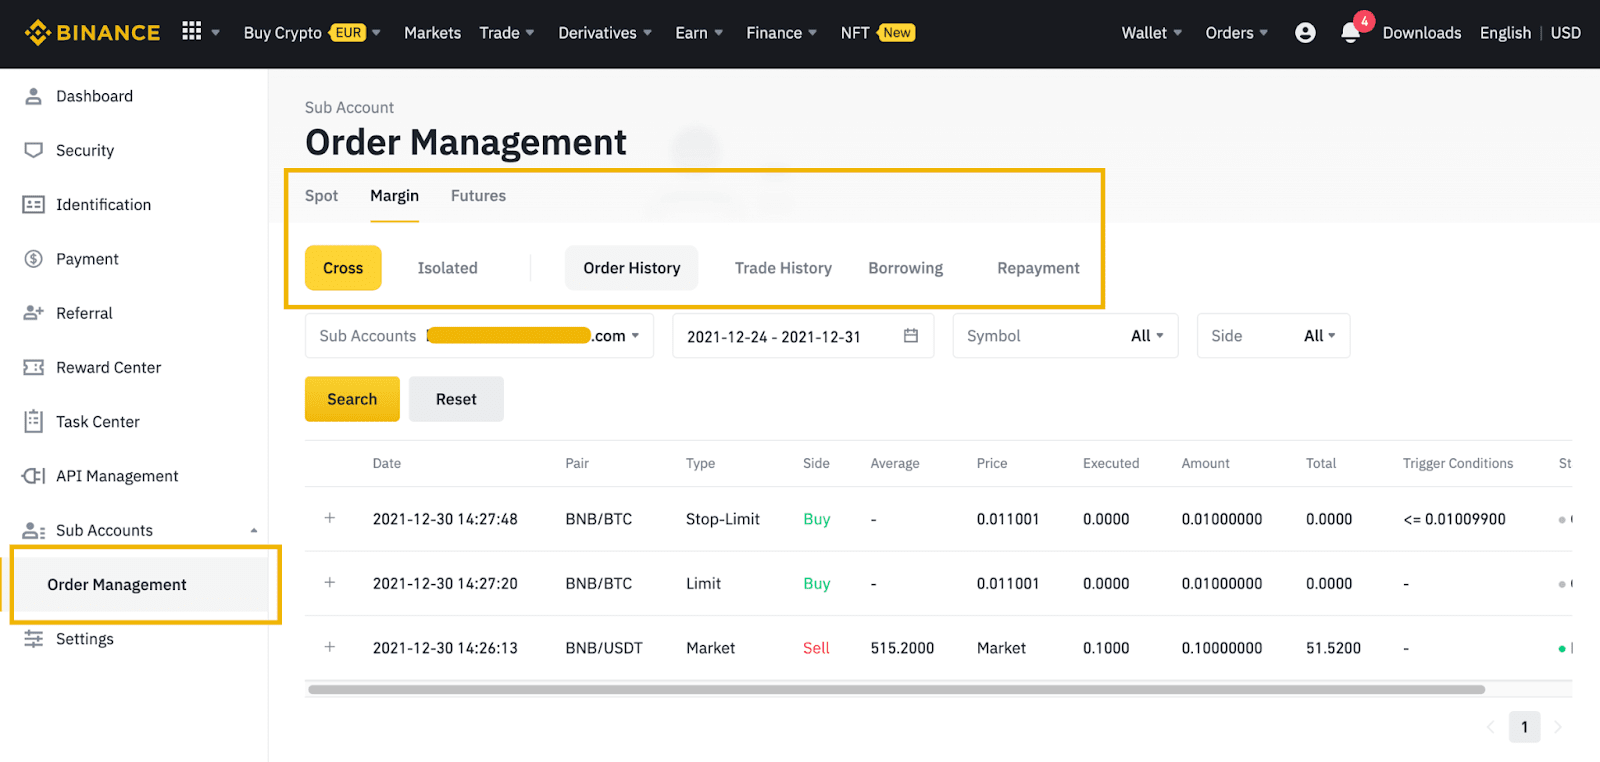
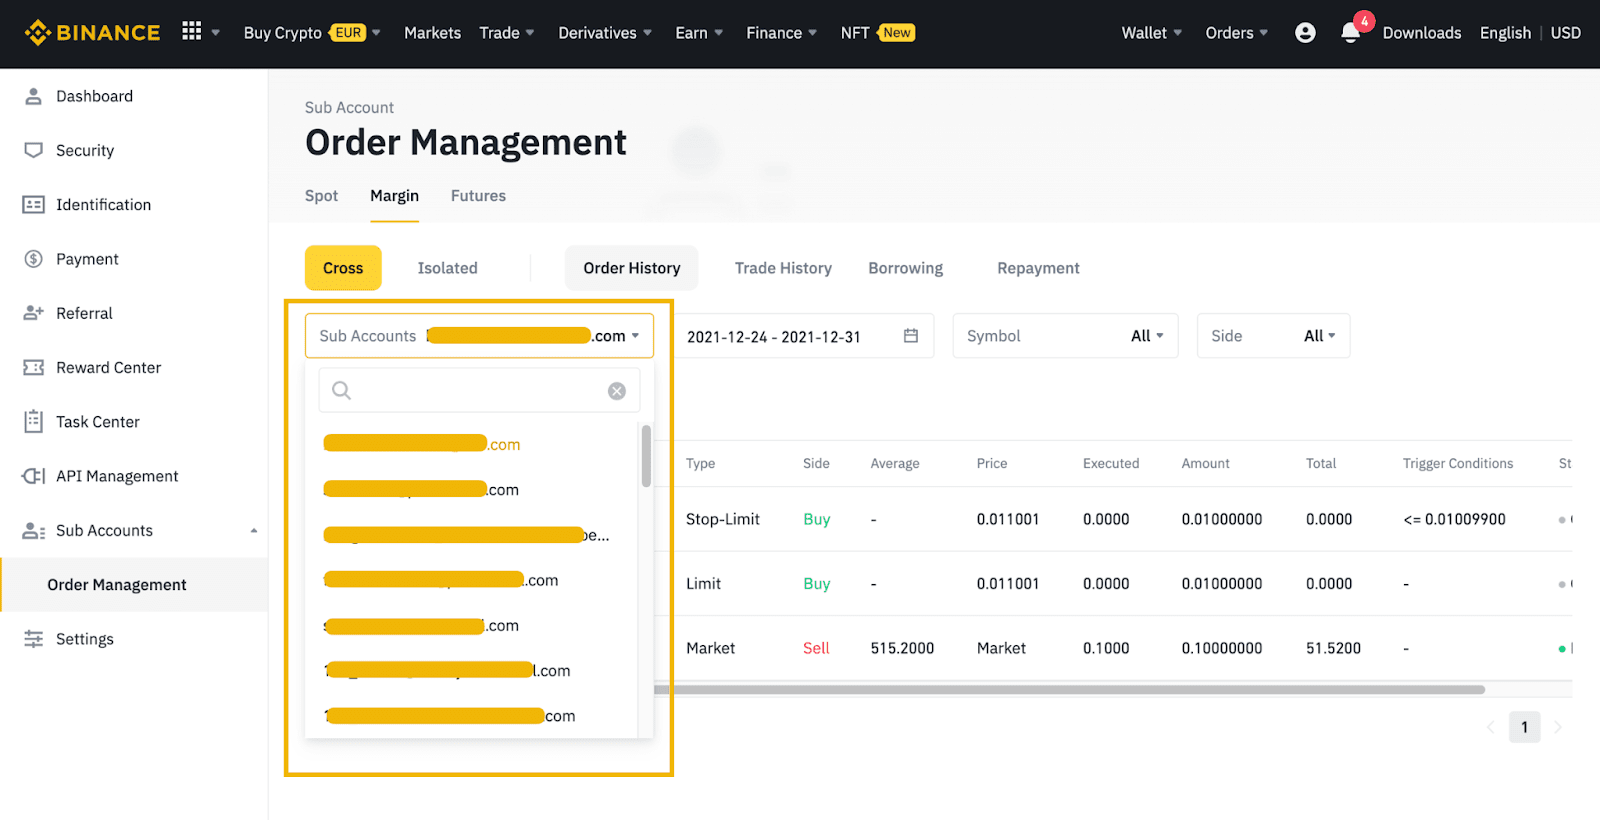
3. After enabling 2FA, click [Sub Accounts] - [Order Management]. You can view different accounts’ Spot/Margin/Futures trading history. Additionally, you can choose between the master account and the sub-accounts to view their respective history.
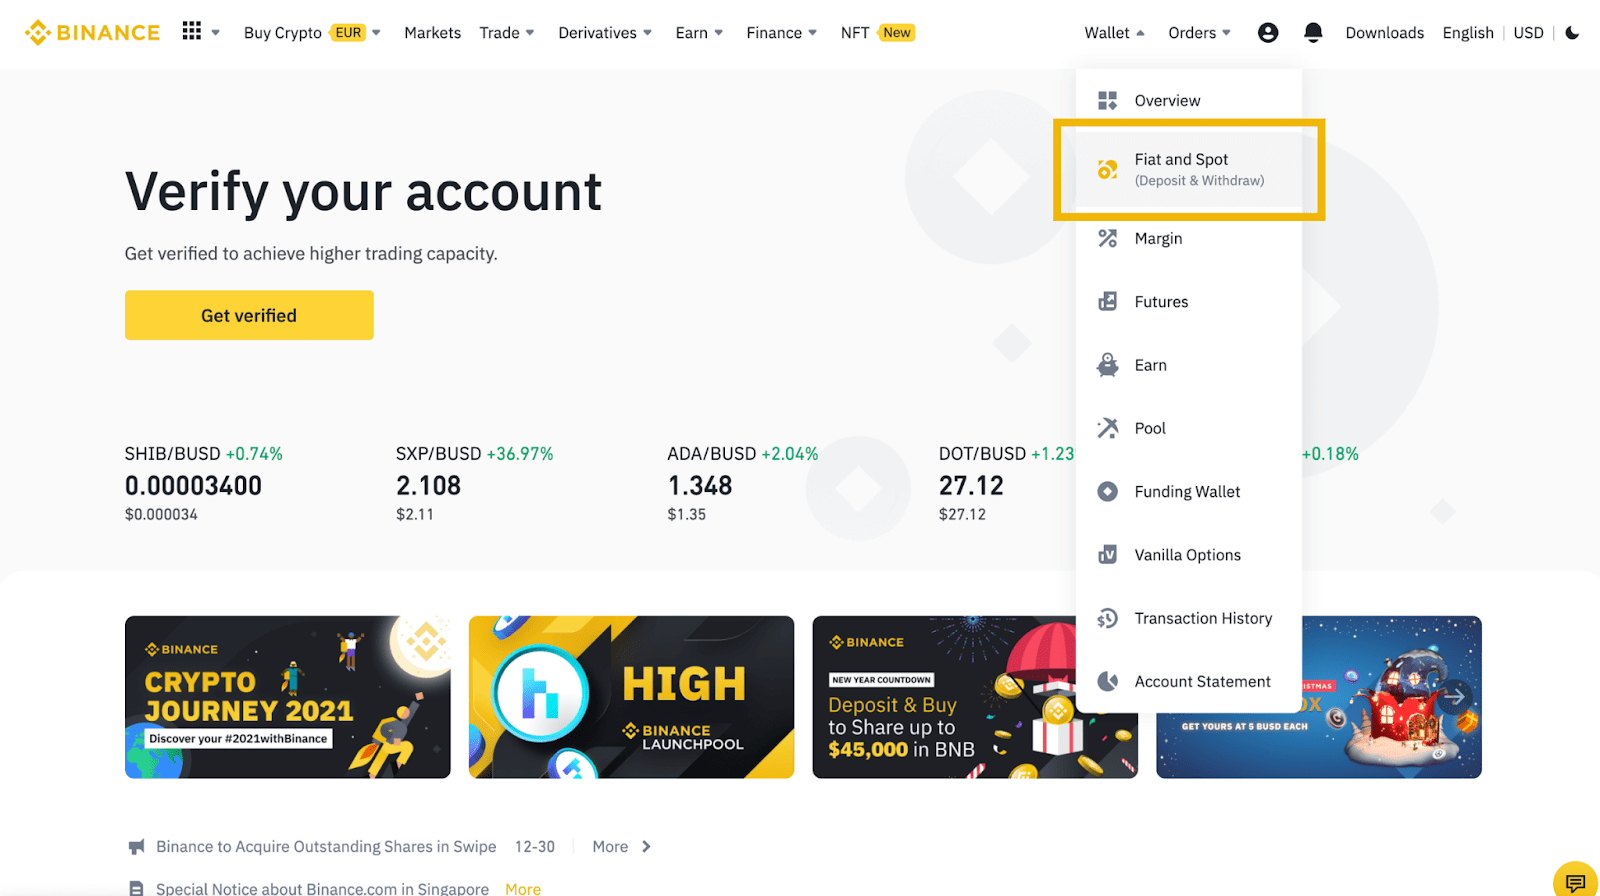
1. Log in to the Custom Login account and click [Wallet] - [Fiat and Spot].
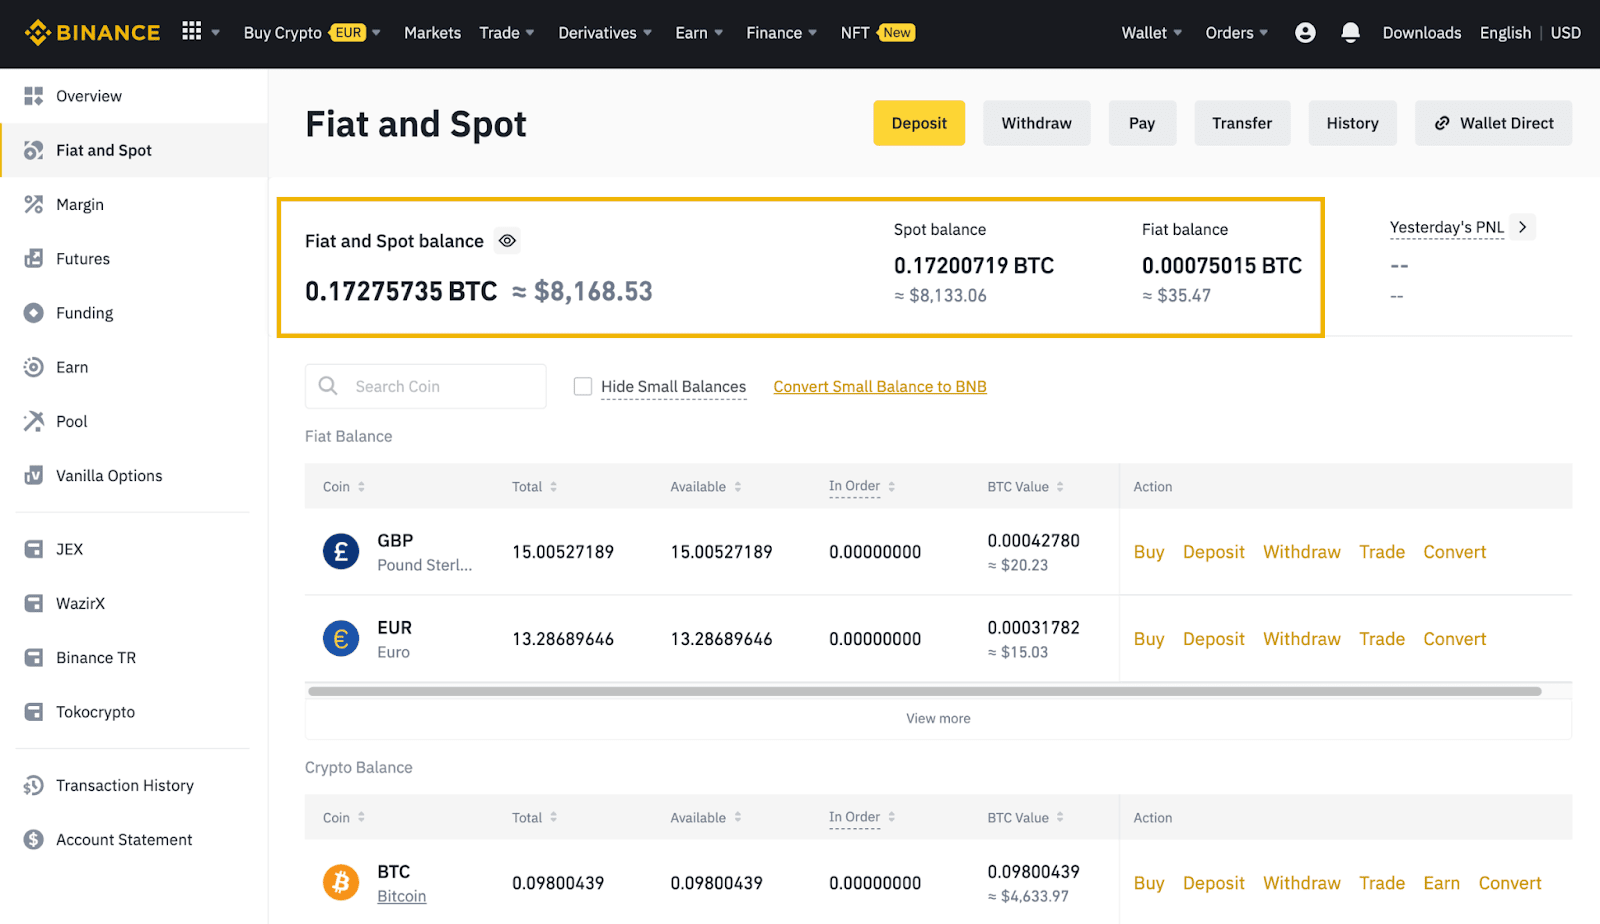
2. You can view the Fiat and Spot balance and all fiat/crypto assets here.
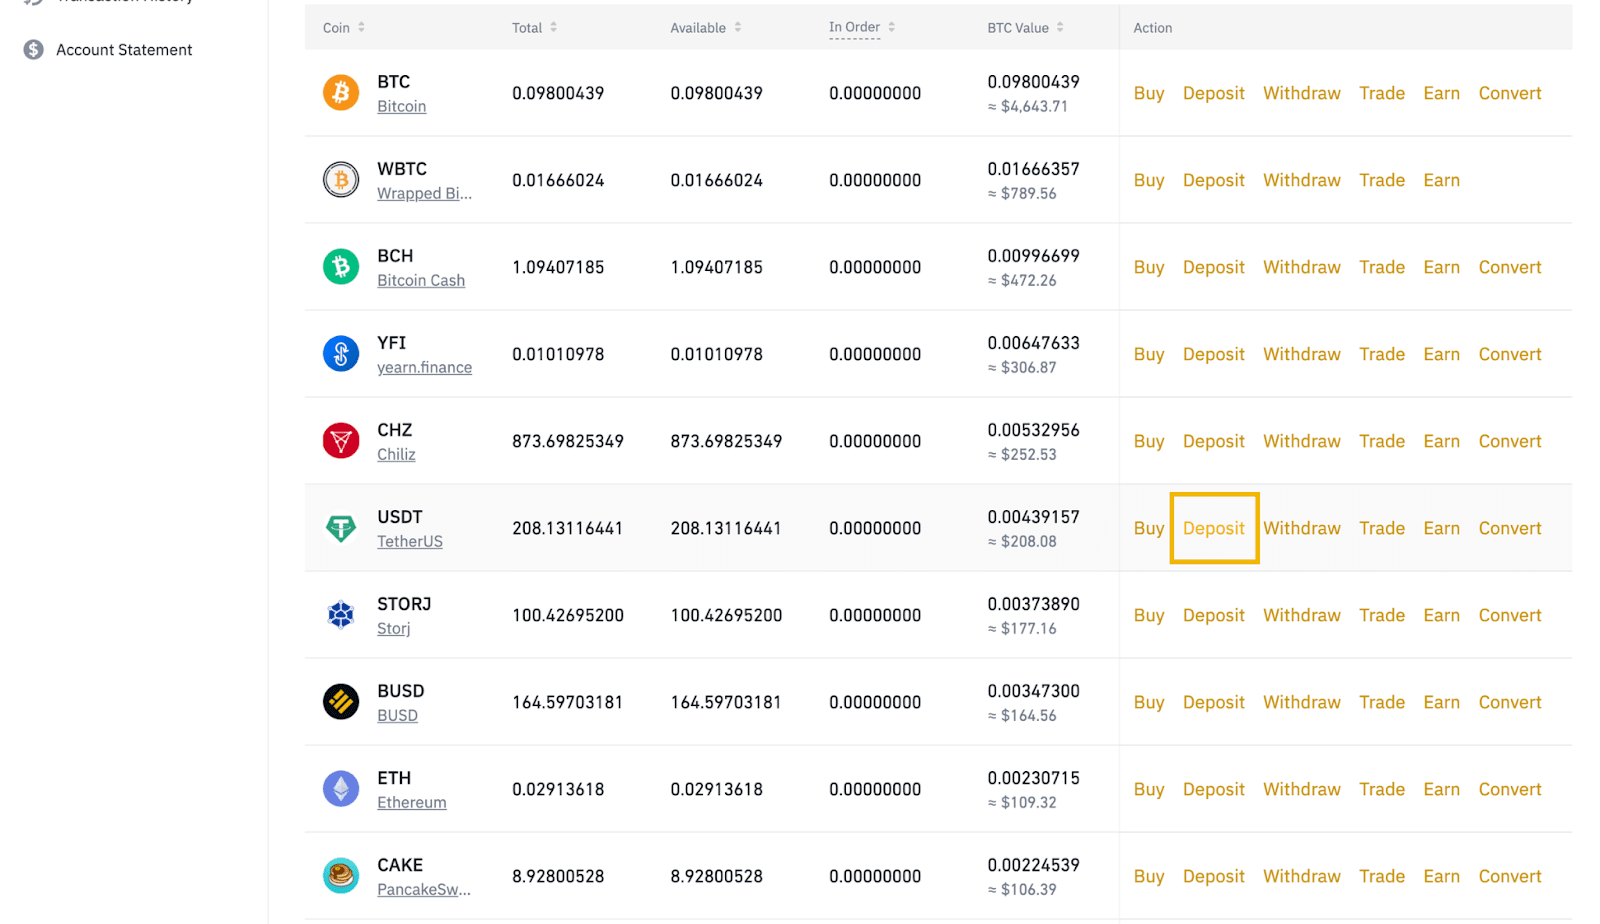
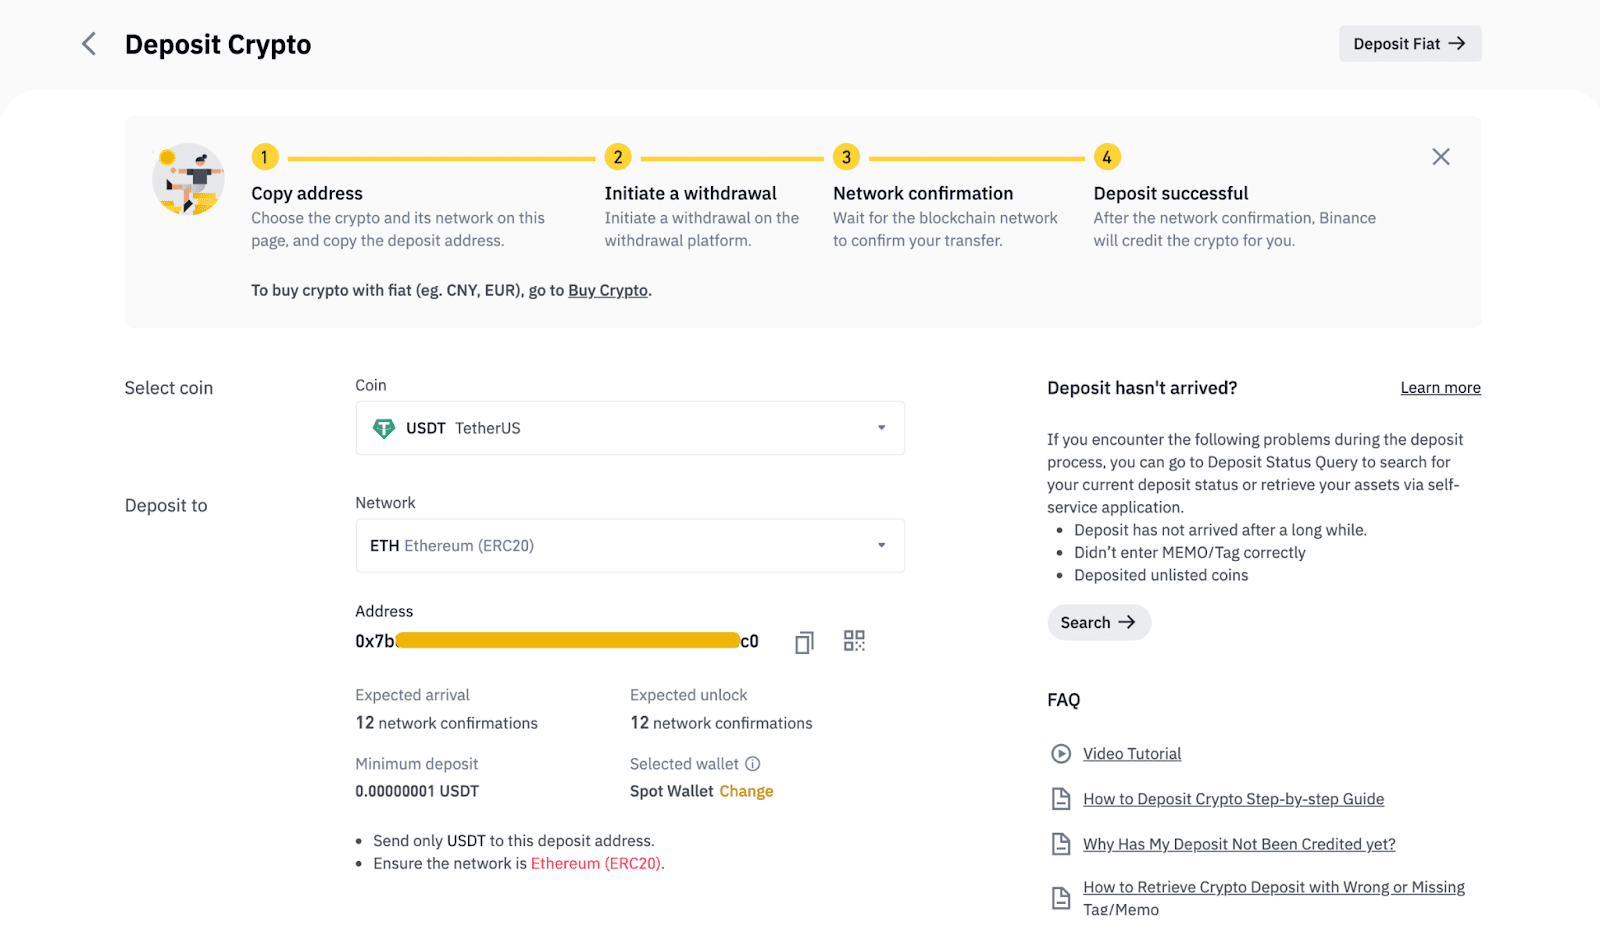
3. To view a crypto asset’s master account deposit address, click [Deposit] next to the asset.
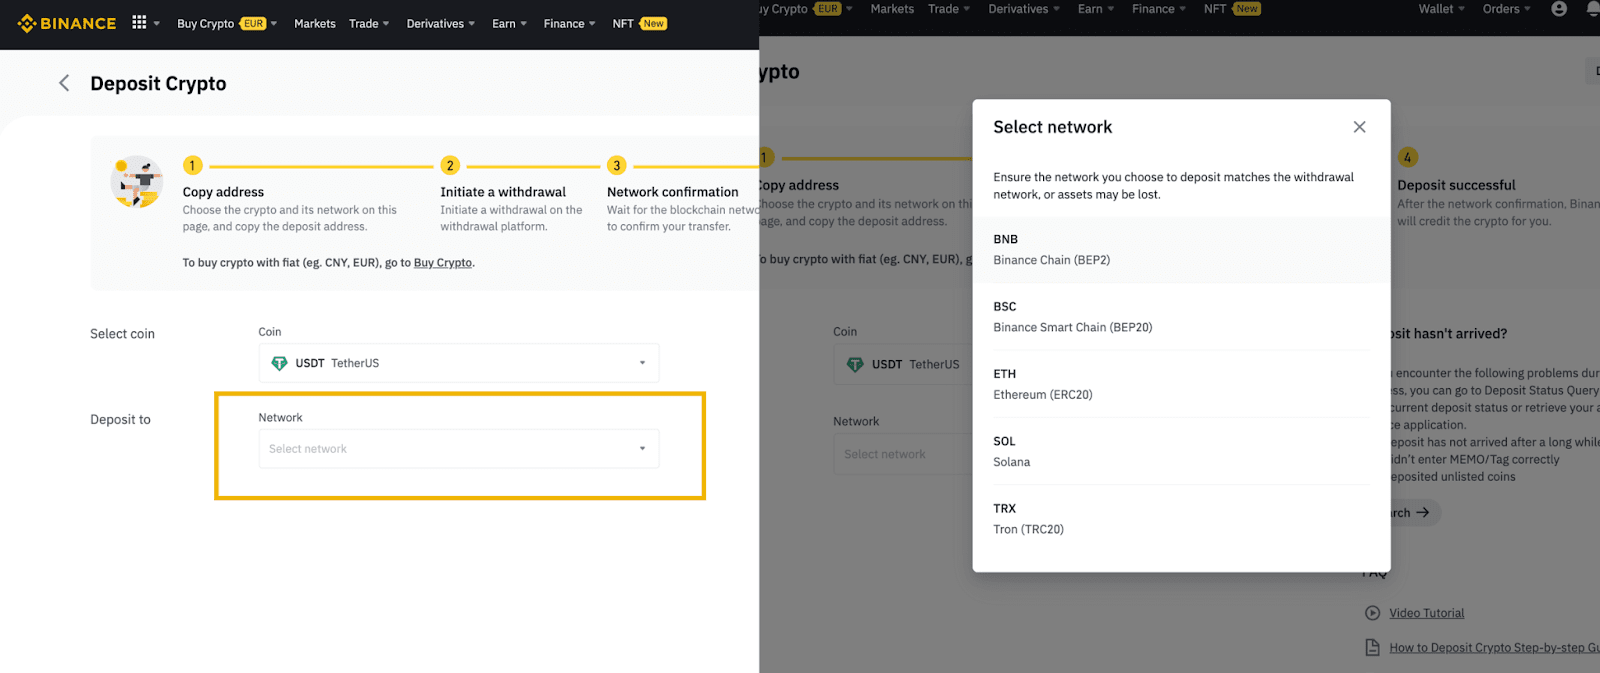
4. Select the network and you can see the master account’s deposit address.
1. You can directly log in to your Custom Login accounts, no registration is required.

2. Click [Profile] - [Dashboard] to proceed to the User Center. For first-time login, you will be prompted to enable 2FA. Please refer to How to Enable Google Authentication (2FA) and Frequently Asked Questions for more details.

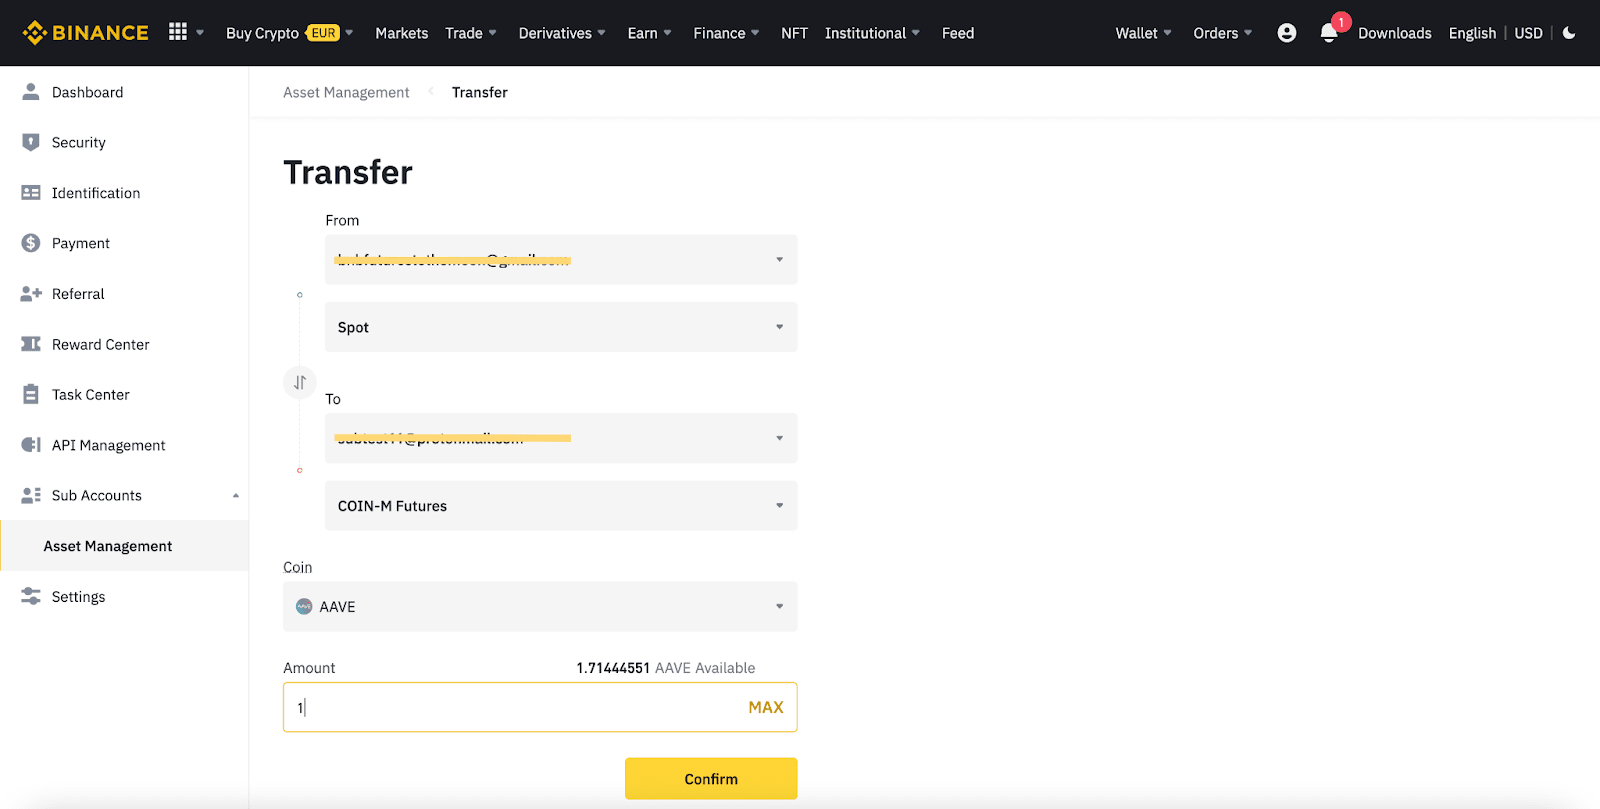
3. After enabling 2FA, click [Sub Accounts] - [Assets Management]. You will enter the same transfer assets page as the master account, where you can transfer assets between different sub-accounts or between sub- and master accounts in the same way as the master account.
To learn more about Binance VIP accounts, visit the VIP FAQs page.