Disclaimer: This tutorial does not provide investment advice
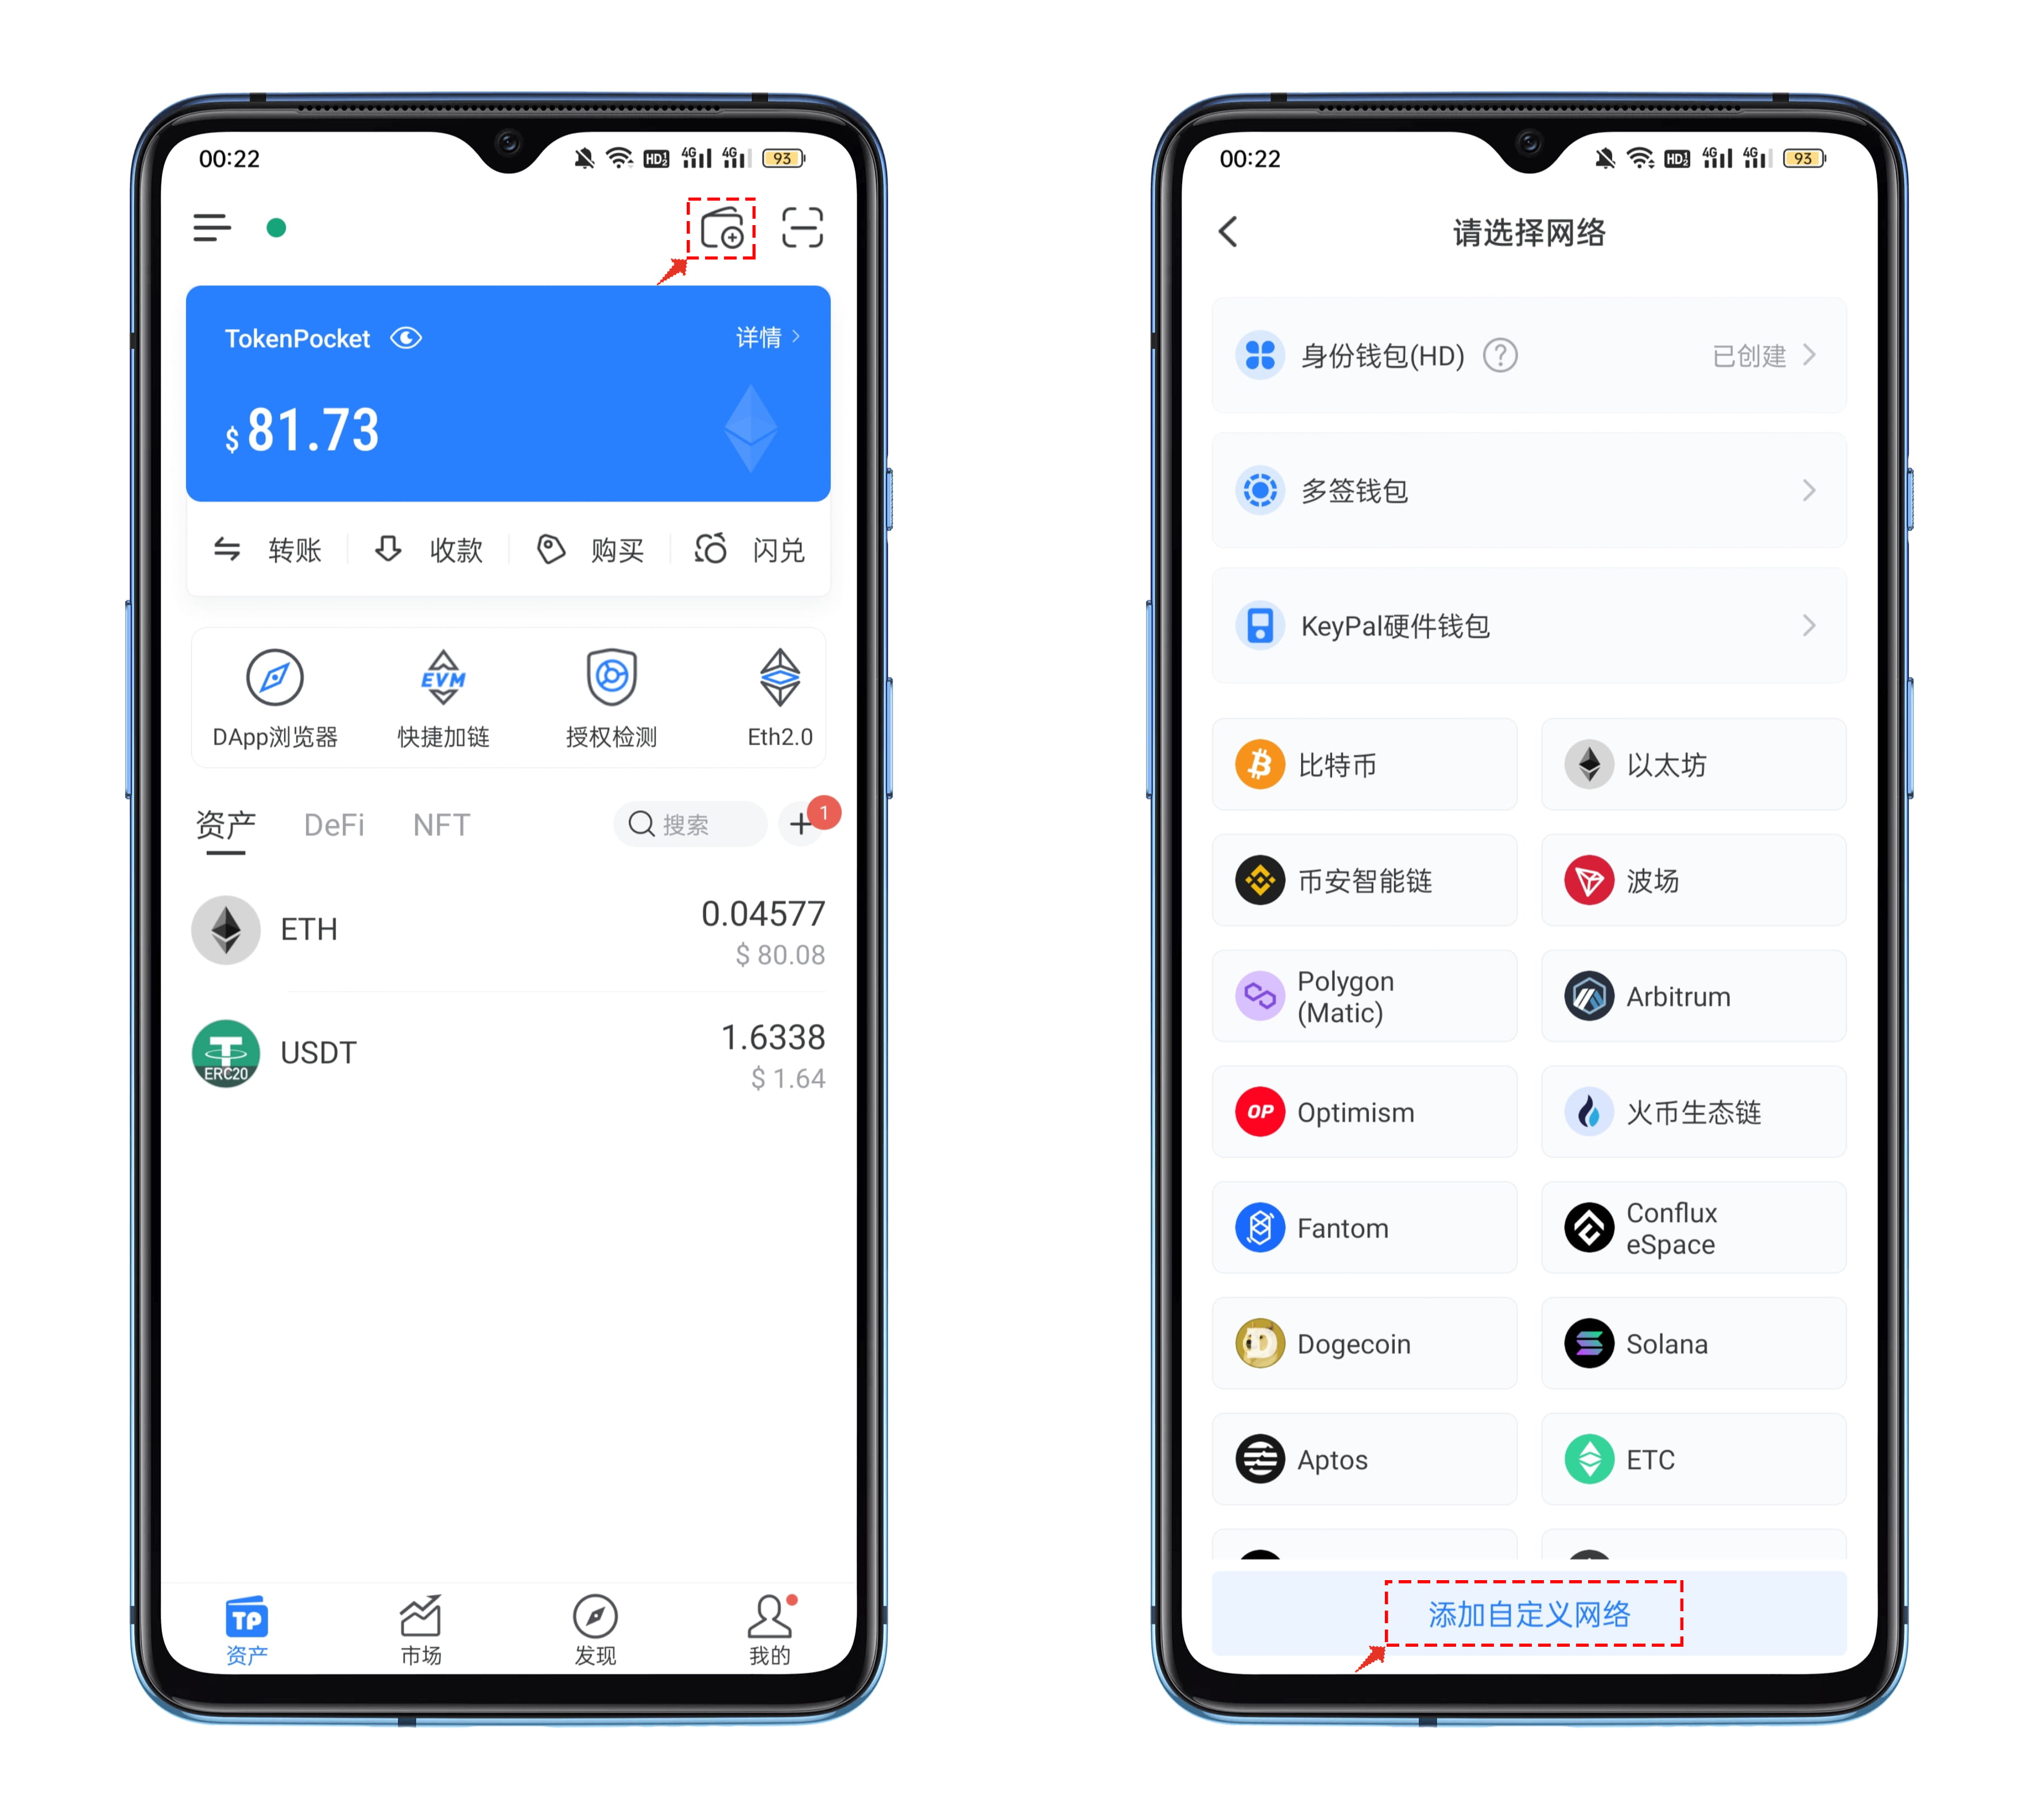
How to add a custom network to TokenPocket 1. Open TokenPocket, click [Add Wallet] in the upper right corner, and click [Add Custom Network] at the bottom of the network selection interface.
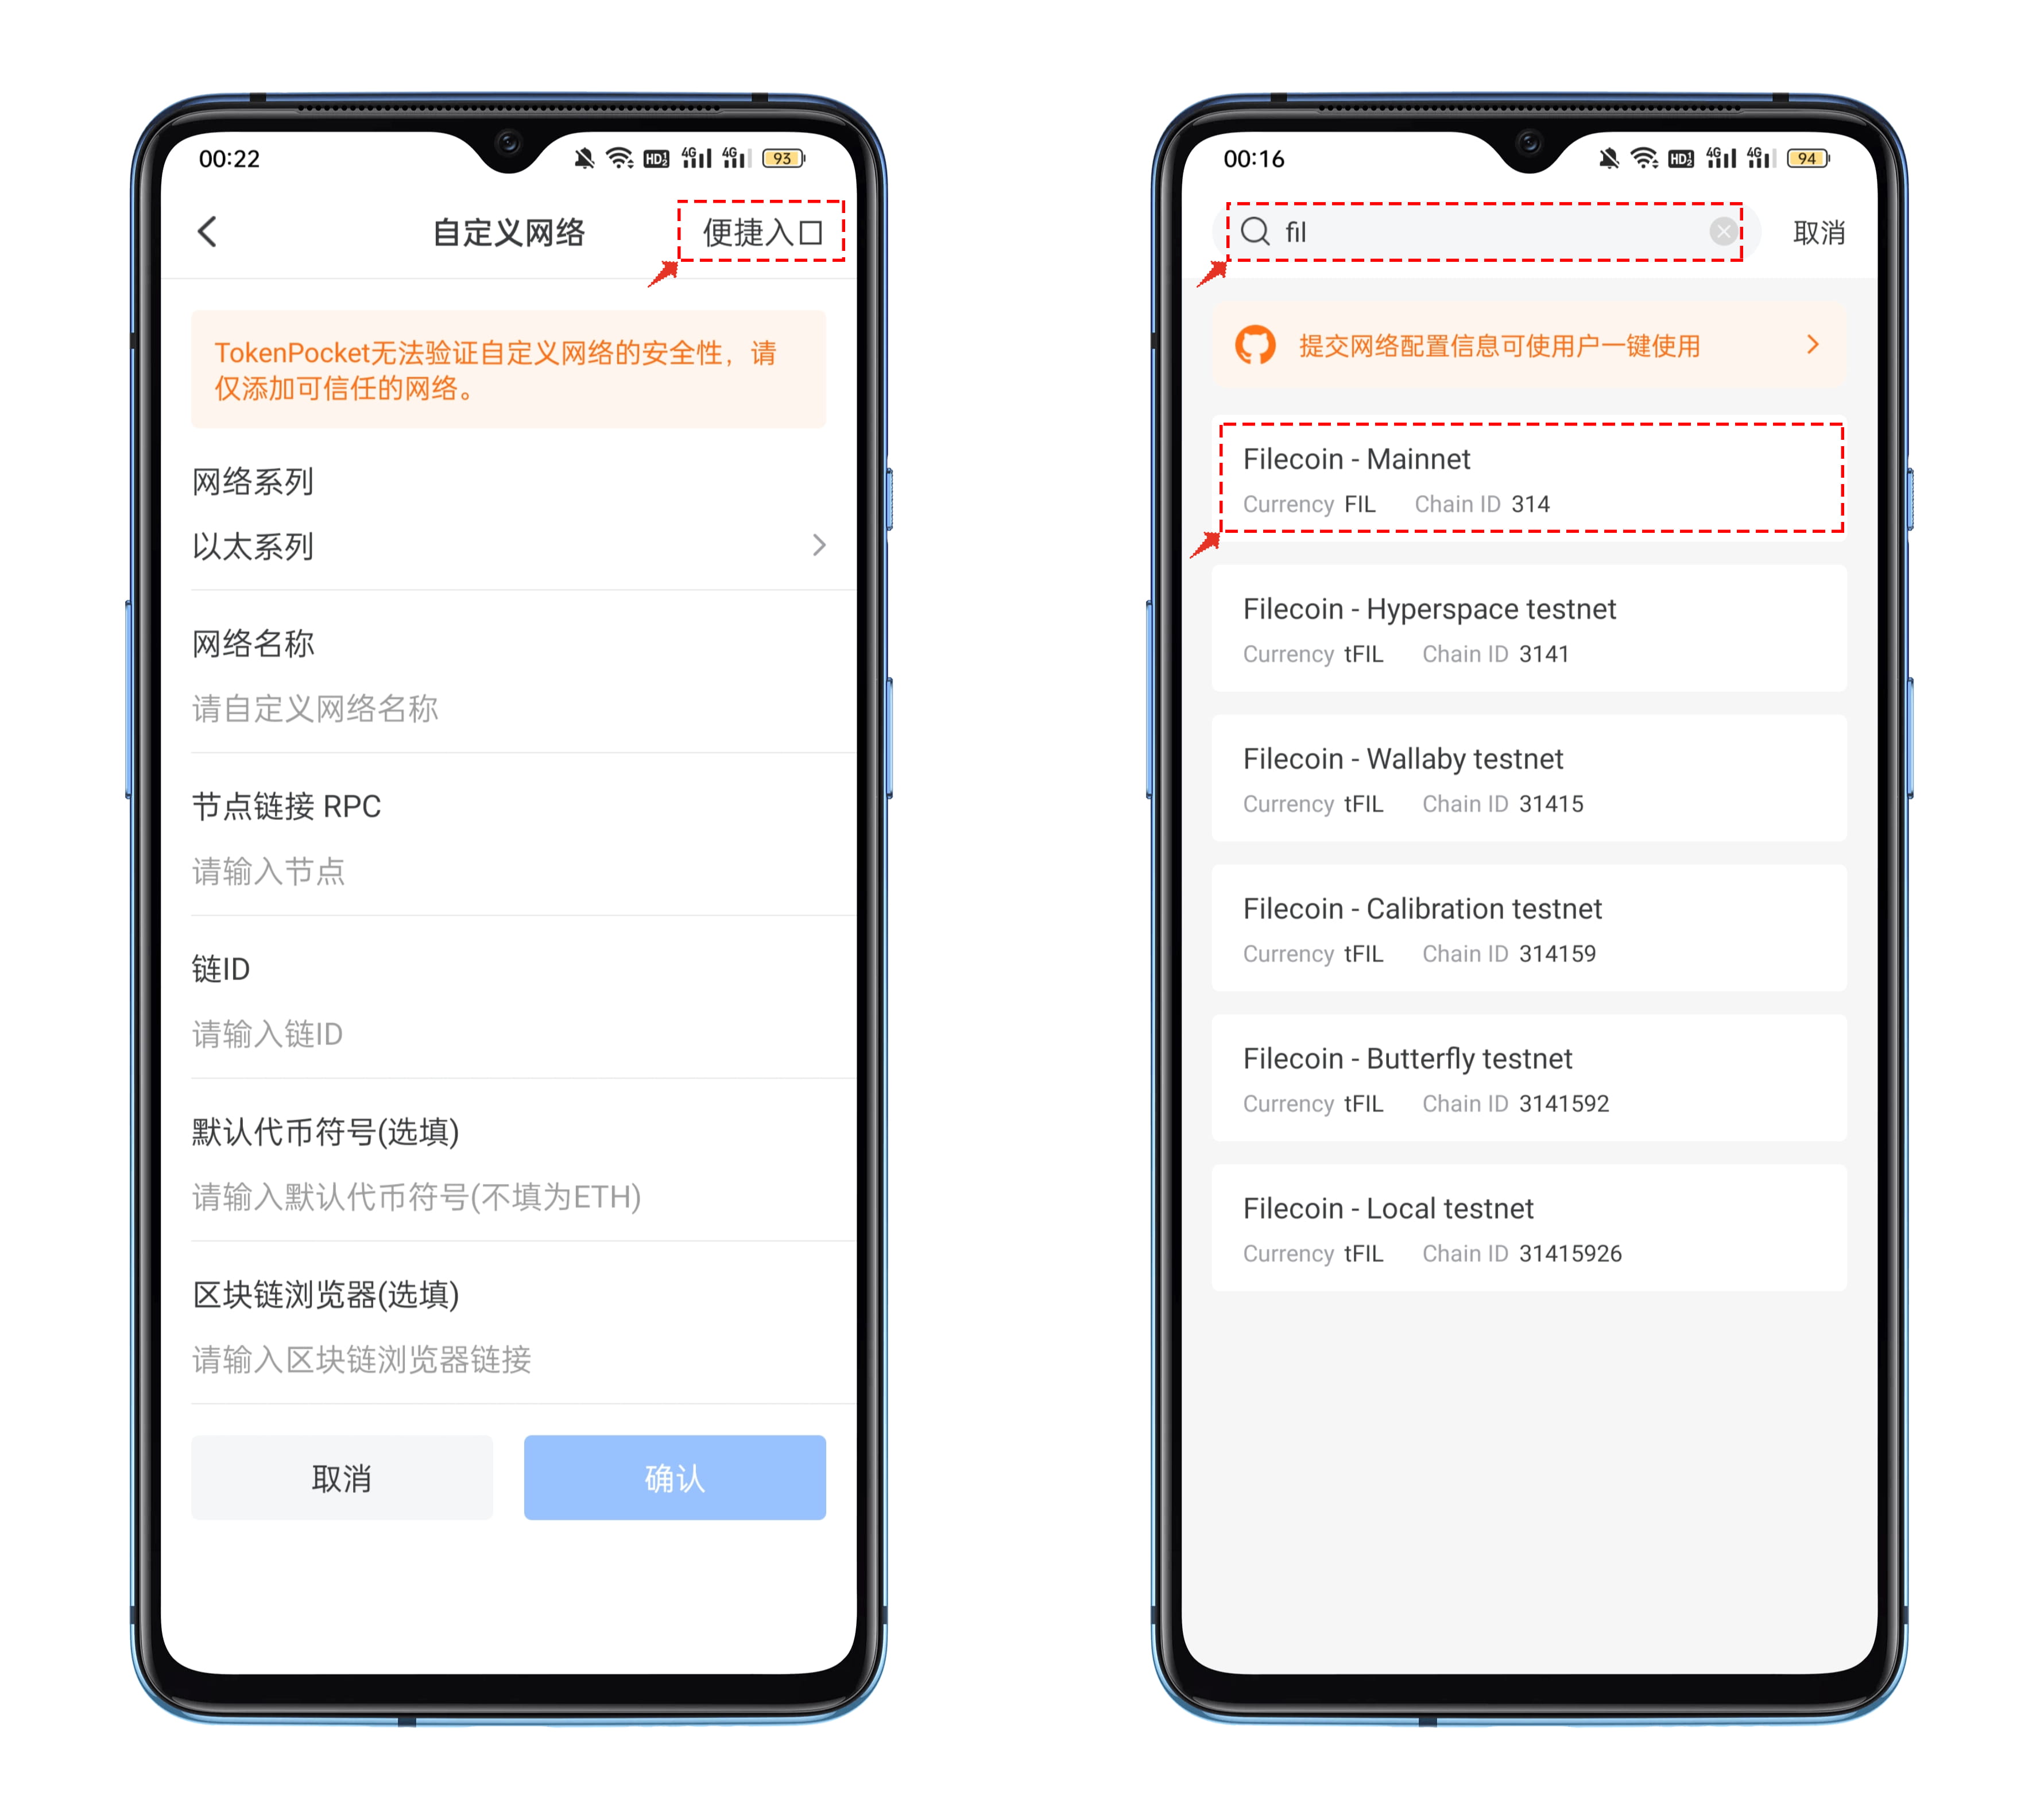
2. In the custom network editing interface, click [Convenient Entry] in the upper right corner, fill in the keyword FIL at the top of the open interface, and select the correct public chain.
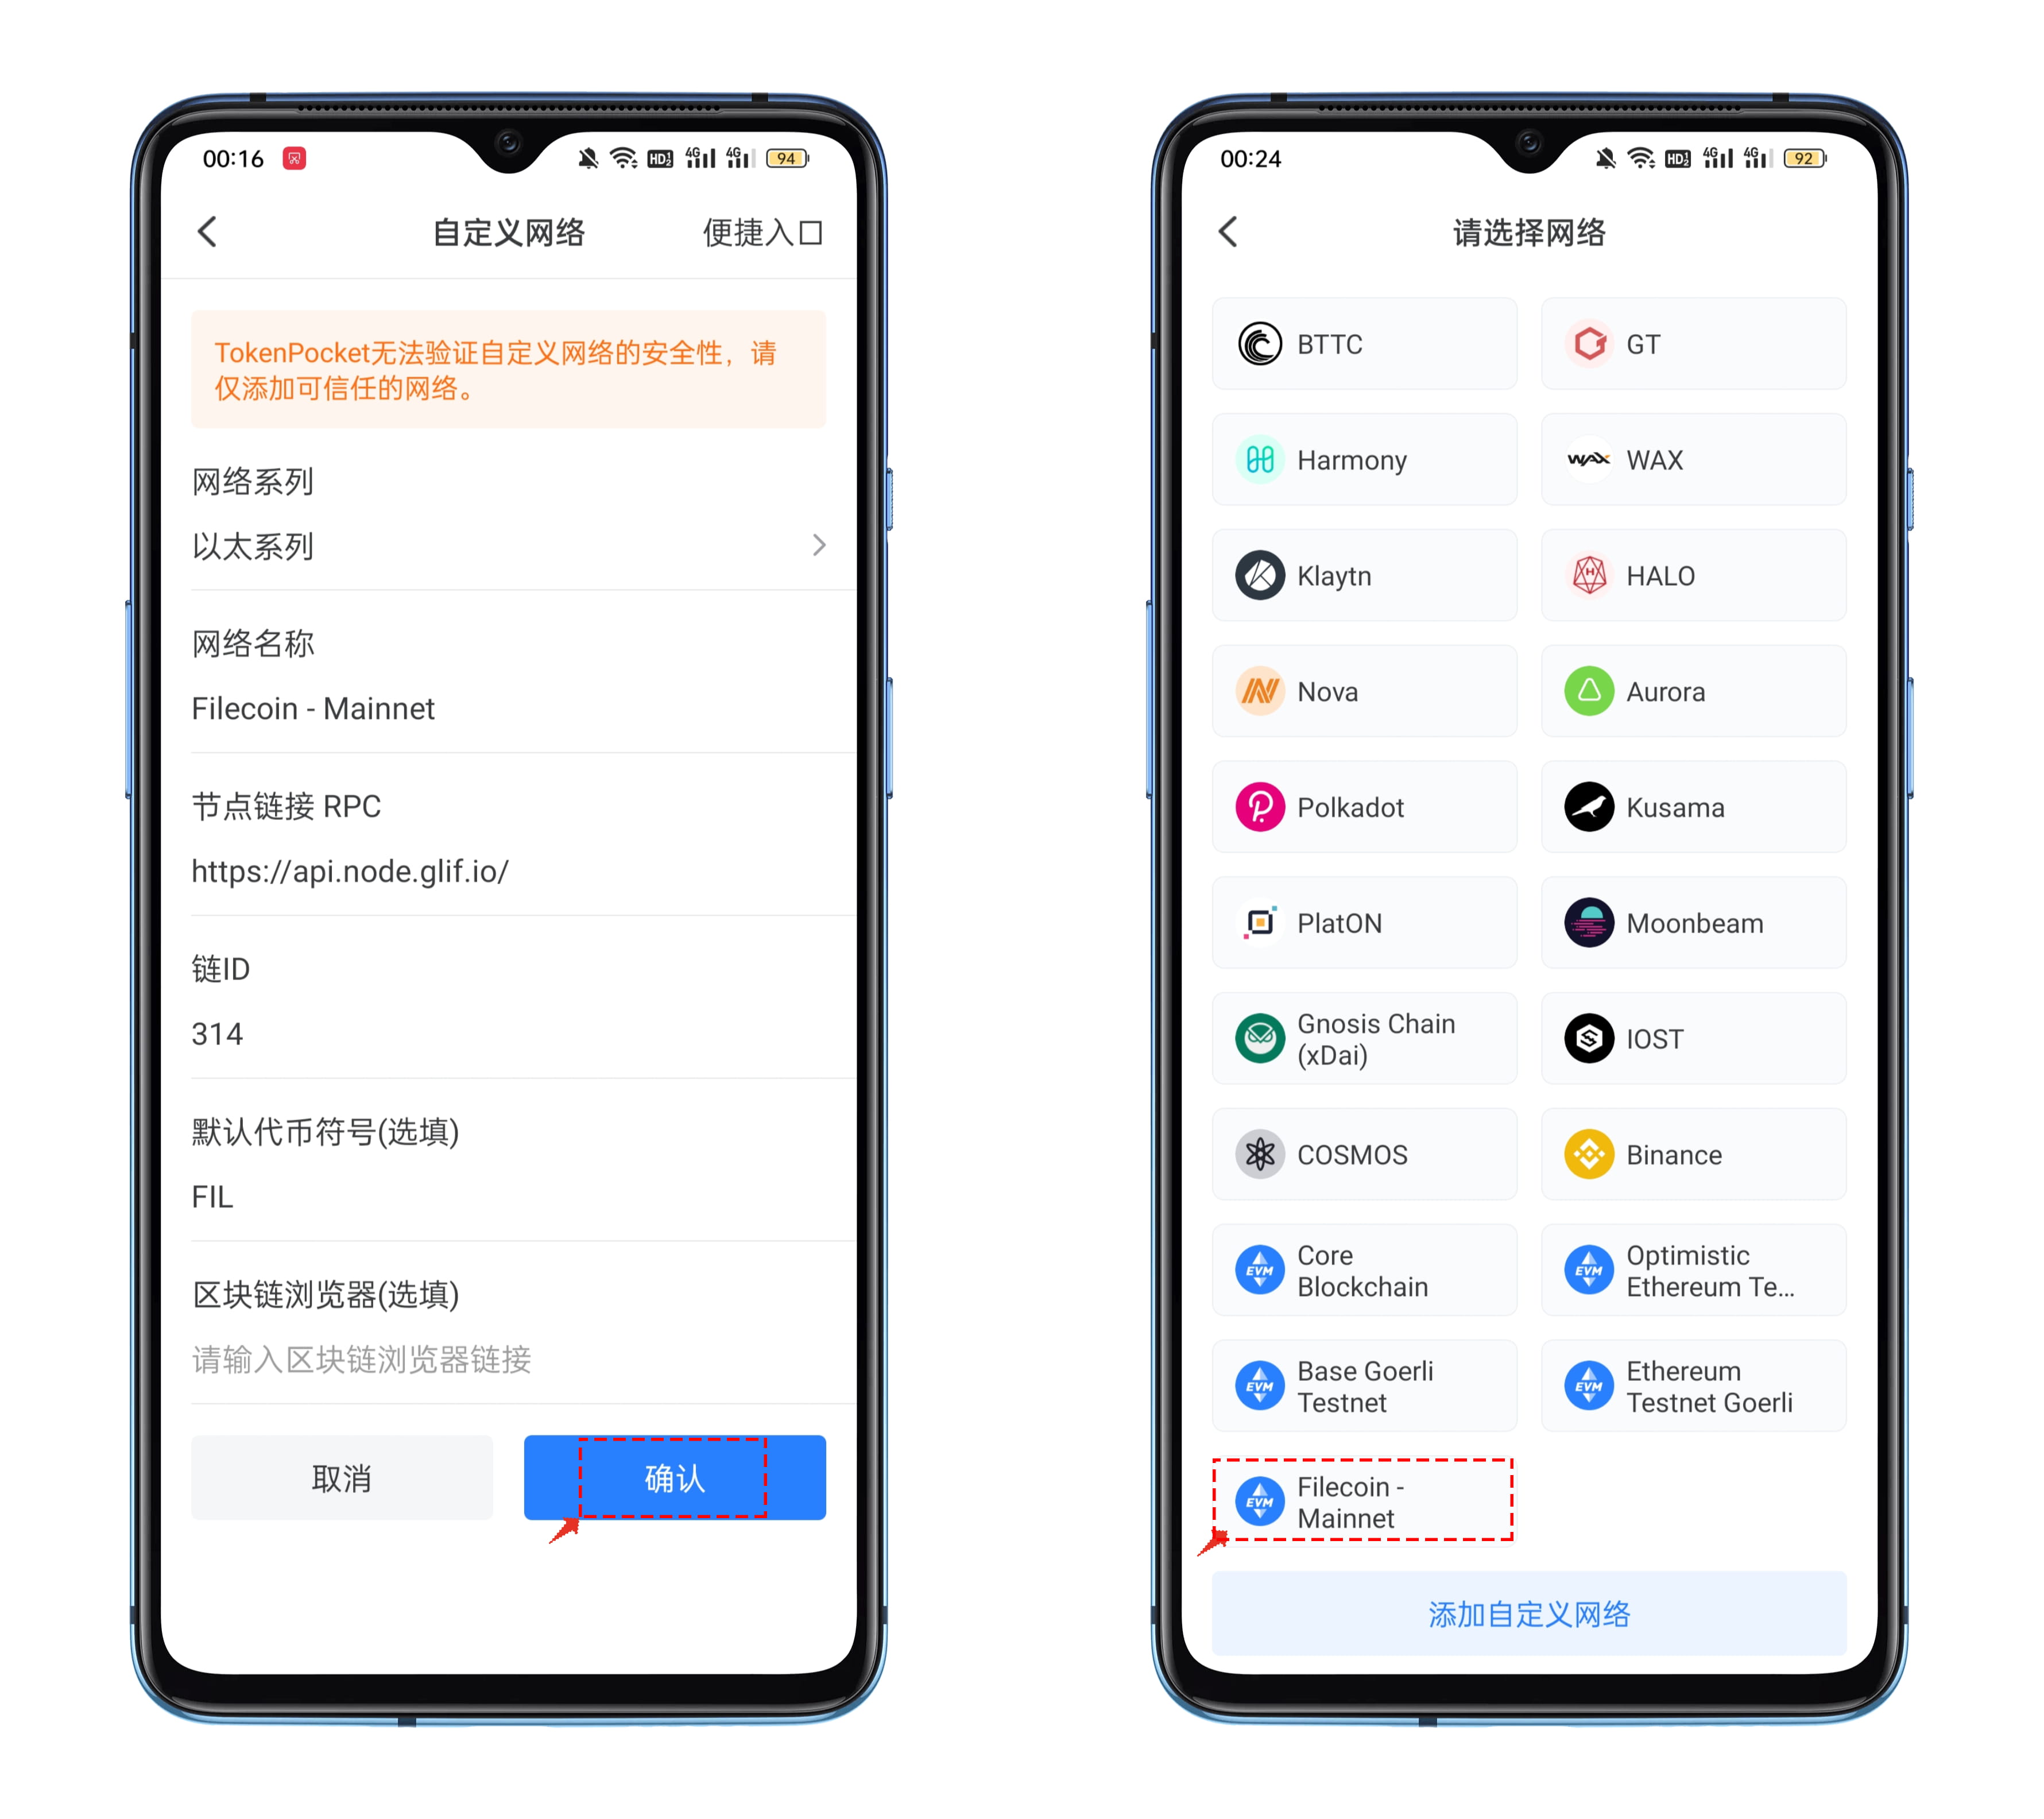
3. After clicking on the Filecoin public chain, you will see the parameter prompt in the picture below. Click [Confirm] in the lower right corner to complete the operation of adding a custom network; after the addition is completed, you can see the newly added one at the last place in the selection list Filecoin public chain.
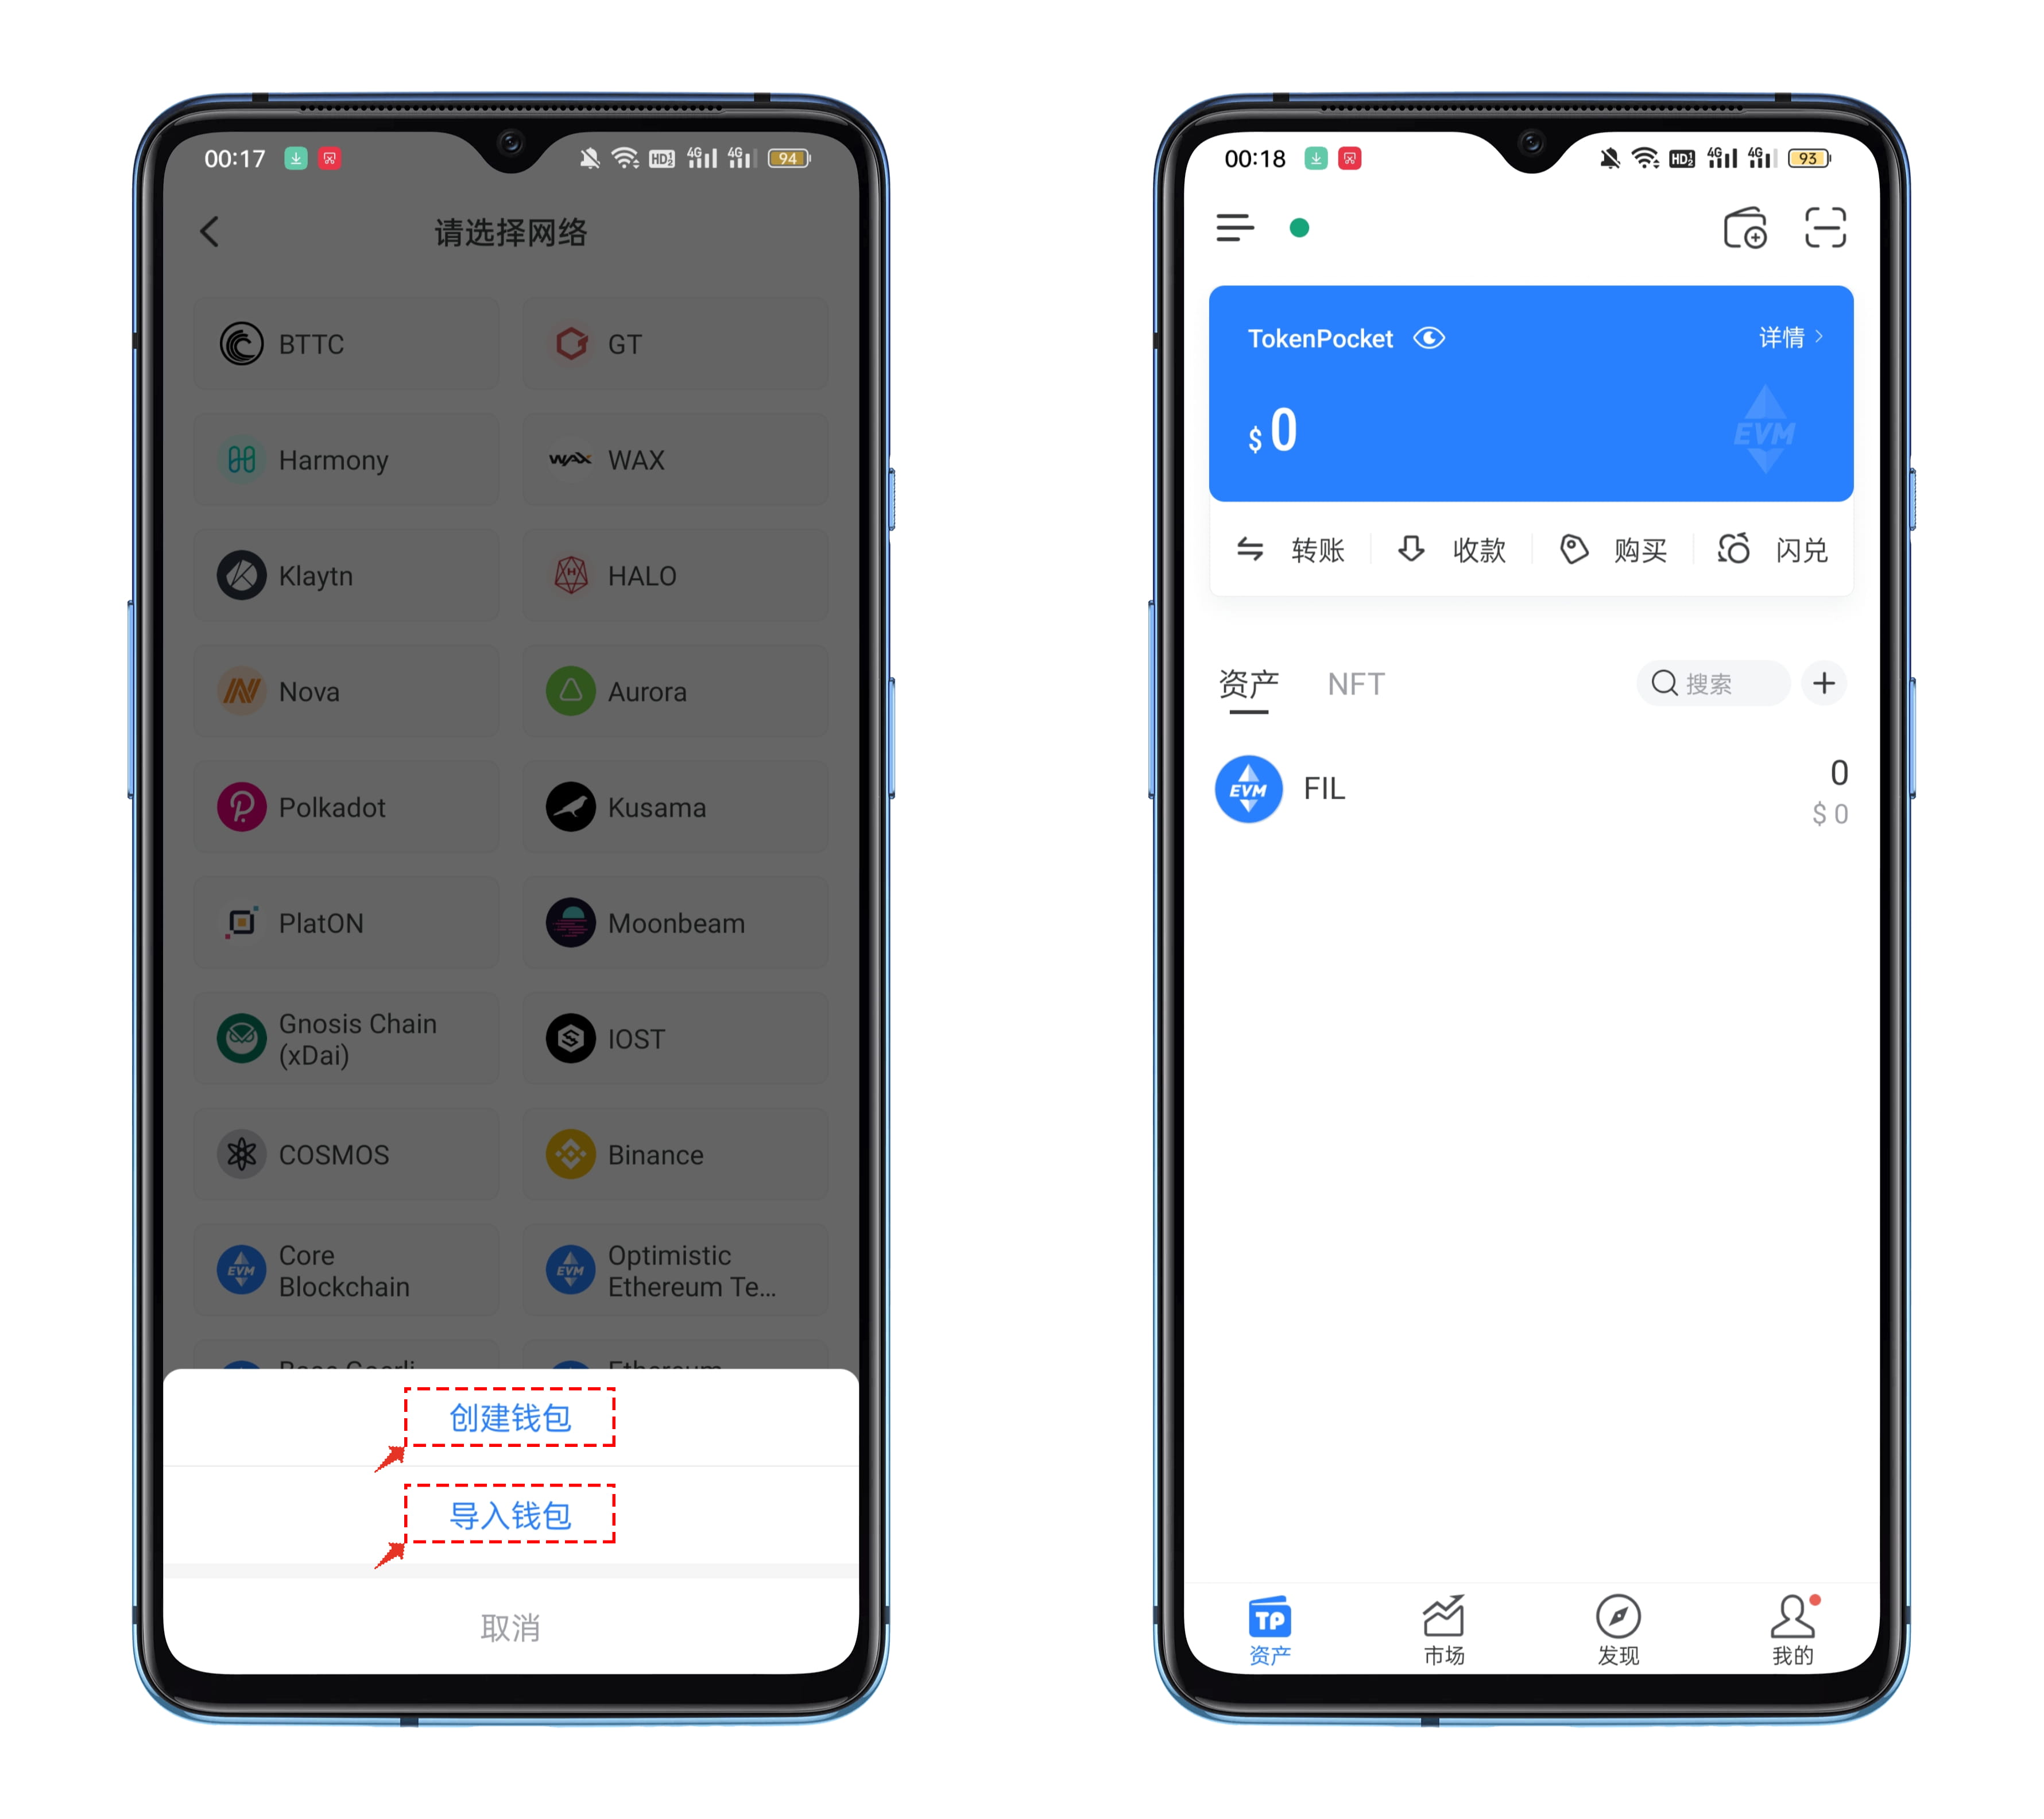
4. Click Add Network, and you will see two options: [Create Wallet] and [Import Wallet]. You can create or import a Filecoin public chain wallet according to your actual needs.
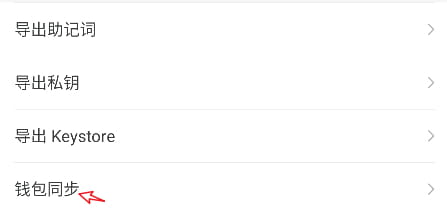
In addition to the regular [Create and Import Wallet], you can also use TokenPocket's wallet synchronization function to quickly complete synchronization operations with other EVM public chains. The method is as follows: Open TokenPocket and click on the upper right corner of the blue card [Details]
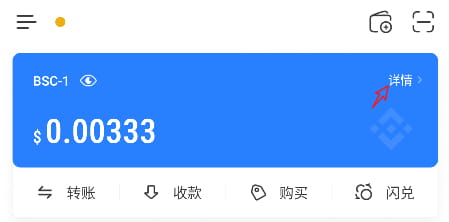
●Select [Wallet Synchronization], scroll down on the wallet synchronization interface to find the public chain that needs to be synchronized, select it, and then click [Start Synchronization] to complete the wallet synchronization operation.