
Note: The original article was written by di0nix!
The WAX Testnet allows you to try out all the features on the WAX Blockchain without spending WAXP. You can create an account, code, and experiment on the WAX Testnet without any risk! Or you may receive an invitation from a new game or app creator who wants to test it on the WAX Testnet before launching it on the WAX Mainnet.
How to create an account on the WAX Testnet
Creating an account on the WAX Testnet is easy with the tools provided by WAX SWEDEN. Simply visit waxsweden.org/create-testnet-account, choose a name with 12 lowercase letters (numbers 1 to 5 are also acceptable), and enter it into the box.

Done! Your account is now activated. You should then receive a message like this:

Copy and paste this text into a .txt file, as it contains the private and public keys you'll need to use the account!
How to set up Anchor to use your account
1. Preliminary Operation
To use your new account, instead of using the WAX Cloud Wallet, you must have a software wallet that has access to the WAX testnet: For this guide, I will be using Anchor, and recommend you do the same.
Go to https://www.greymass.com/anchor, download Anchor (use the desktop version if you can, not the mobile version, which is more complete), and install it.
Once it’s open, first enable advanced settings: click the icon in the upper right corner, scroll down and select “Display advanced options”.

Now scroll down again and make sure the option “Enable Testnet support” is checked

2. Add the WAX testnet to the list and select it
Click the blockchain symbol next to Anchor, then click Manage Blockchains.

Click Add/Remove

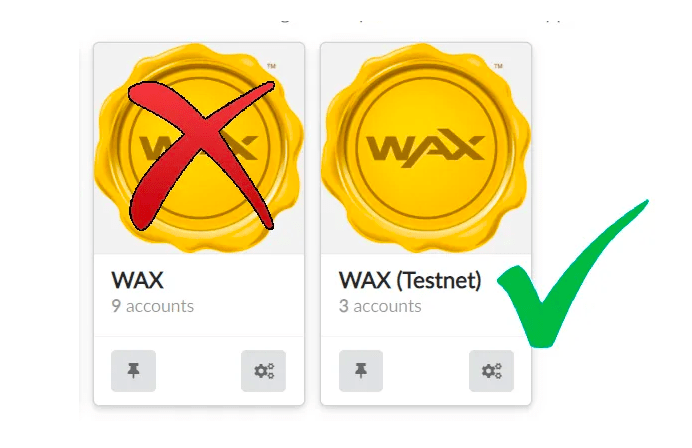
Search for and select the network "WAX (Testnet)"

Finally, to use the WAX Testnet, click the blockchain symbol again (1), then click WAX Testnet (2)

3. Set up a WAX testnet account
Now you need to import the WAX testnet account you created at the beginning into Anchor! Click on “Home” in the left menu (1), then click on “Manage wallets” in the middle (2). Make sure you are on the WAX testnet (3).

In the next window that appears, click "Import Accounts"

Click on "Import an existing account"

Click "Import private key"

Now reopen the file containing the key you generated at the beginning and get the two strings called "private" from it.

Copy one of the private keys and paste it into box 1; if everything went well, the account name will appear in box 2. Select it and click "Import accounts" (3).

If all goes well, you will see your account in the list!

Click "Import account" again, then select another private key from the file and repeat the same steps; in the end, you will have two different "profiles", "owner" and "active", which are actually used to manage the same account, but with different permissions (the "owner" key has more permissions). However, this is not important on the testnet.
Note that on the right you can select the key you want to use: As you can see, in addition to the two keys for the "mynamejoe123" account, I also created another account "dionixtester" which only imported the owner key. As mentioned before, the testnet was created exactly for testing!

4. Get WAXP for free on the WAX Testnet
One last thing: do you need WAXP for testing? No problem: you can get WAXP for free via the previously mentioned website waxsweden.org/create-testnet-account.
Scroll down until you see this section, fill in your account name, and you will instantly receive 500 WAXP!

Done! You can check your balance in the Home section

Happy testing!!!
*Friendly reminder: This article is for popular science purposes only and does not constitute any investment advice!


