#Runes and Bitcoin halving is happening , and you have to be prepared.
Everyone will make x50-x100 on their entire portfolio.
But to get it, you must act faster than others, and running $BTC node is crucial.
Here's the secret method to outperform 99%👇🧵
Introducing the Runes Protocol:
This is a new token standard on Bitcoin.
Runes allows for the trading of smaller token units, increasing fungibility.
On launch day, the main goal is to get any runes as quickly as possible.
Because over time, these original runes will increase in value and turn into unique collectibles.
Here's an easy way on how you can get in early
① What is a BTC node and why do you need to set it up?
Nodes are the way to outperform 95% of all users in this industry and earn significant profits.
For those unfamiliar, a node is a computer connected to other computers that follows rules and shares information.
A 'full node' is a computer in Bitcoin's peer-to-peer network that hosts and synchronizes a copy of the entire Bitcoin blockchain.
Nodes are vital for maintaining a crypto network.
As we know, Runes will become tradable once the 840,000th block is mined on the Bitcoin network.
Bitcoin wallets such as @XverseApp & @unisat_wallet have already announced their support for Runes.
The key to enhancing our speed on Bitcoin? Node setup!

② How to set up a BTC node:
To begin, register on a cloud hosting provider's website.
➬ Visit: http://aeza.net
➬ Create an account using your email address
Next, rent a server for the node.
· Navigate to the "Dedicated Servers" section
· Select "Helsinki" as the location
· Order an "AMD Ryzen 9 5950X" with Windows OC
· Connect to your server (if you don't know how, just google it, it's easy)
To avoid paying for a server, you can attempt to complete all the following steps on your PC, but if it's not powerful enough, the synchronization process might take about a week.
Also there are many cheaper servers such as Contabo, you can opt for them.
③ Download additional components:
Make sure to download all these tools on the server you've previously set up, not on your PC!
Bitcoin Core Node:
http://bitcoincore.org/en/download/
Ord Client 0.18.1:
http://github.com/ordinals/ord/releases/tag/0.18.1
VS Build:
http://visualstudio.microsoft.com/en/downloads/?q=build+tools
④ The finish line is near, but now we need to launch Bitcoin Core Node:
➬ Launch and agree with everything (it's safe so don't worry)
➬ Wait for full synchronization with all blocks
➬ Create a wallet through the "File" tab
⑤ Create a shortcut for the Bitcoin app:
➬ Paste the following command in the app's target:
C:UsersAdministratorDesktopbitcoin-26.1binbitcoind.exe -datadir="C:UsersAdministratorAppDataRoamingBitcoin" -txindex=1
The datadir here represents the core path of your node.
If you selected a specific folder for this – specify the correct path.
⑥ Once your app has finished syncing, close the BTC app and open the shortcut:
➬ This will restart the block synchronization process.
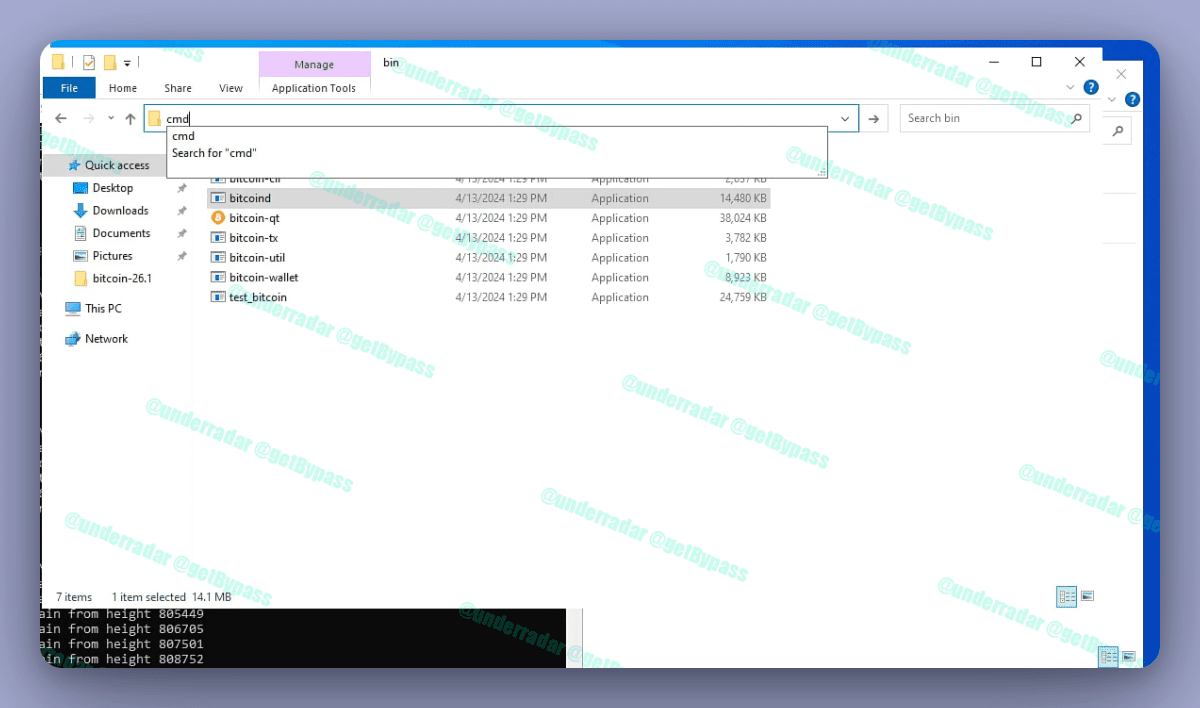
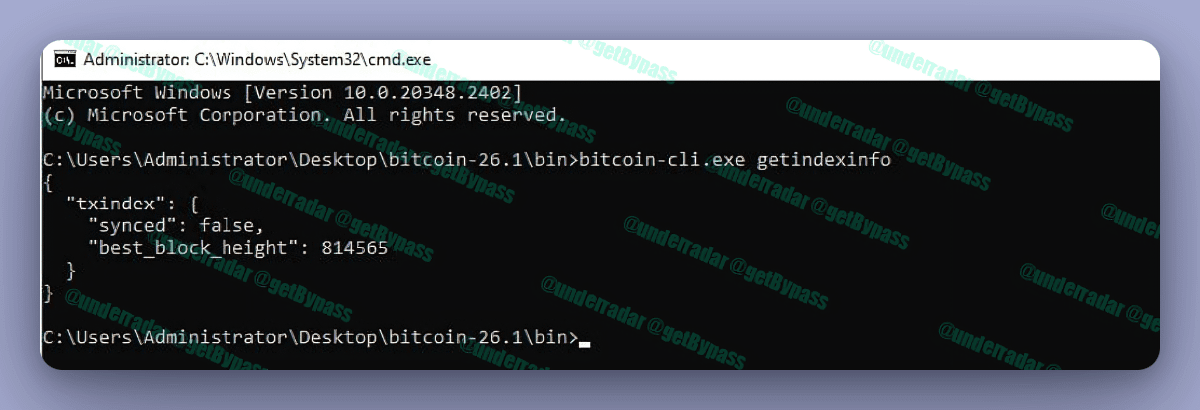
⑦ Next, go to the folder with the Bitcoin App, open a console by typing "cmd" and pressing enter:
➬ Then enter the command: "bitcoin-cli.exe getindexinfo".
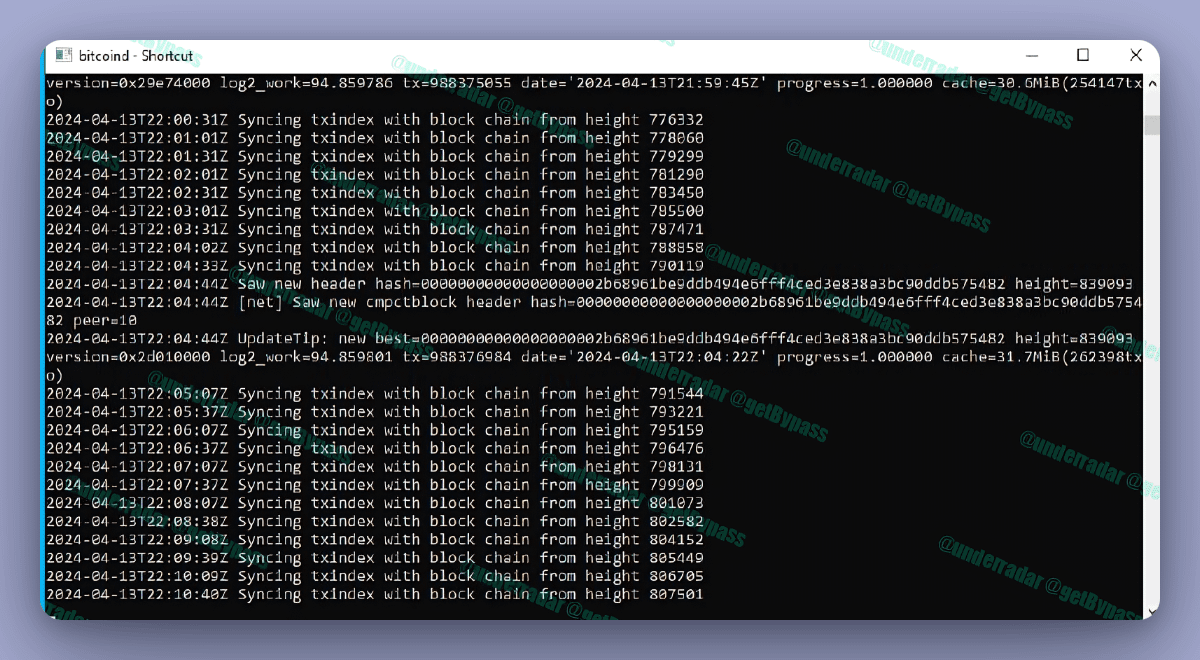
⑧ After the synchronization is complete, open the command prompt in the BitcoinApp folder as previously instructed and press enter:
➬ If everything is working correctly, you should see a result similar to the screenshot below.
⑨ After ensuring full synchronization, drag the ORD client that we downloaded earlier into the application folder:
➬ Next, enter the following commands:
ord wallet --name xxx restore --from mnemonic
Replace "XXX" with your wallet name.
Provide your seed phrase in a single message.
➬ To check your balance, use this command:
ord wallet --name xxx
➬ Press CTRL + C to exit the console.

Like and follow if you found this article useful
#bitcoinhalving #Runestone #Memecoins #HotTrends #BullorBear